
Are You Overlooking Temperature When Frying at Home?
Frying is one of the most satisfying cooking techniques: golden crusts, hot, crunchy bites, and flavors that feel indulgent without being complicated. Yet so many home cooks focus on batter, seasoning, or the shape of the pieces and forget the one thing that ties it all together: temperature. Getting the oil to and keeping it at the right temperature is the secret to consistent, delicious results. With a little attention and a few simple tricks, you can dramatically improve every fried dish you make.
Why temperature matters more than you think
Oil temperature affects texture, color, and even how much oil the food absorbs. Too cool and the crust becomes greasy and soggy as food soaks up oil while trying to cook through. Too hot and the exterior will burn before the inside is done. The right temperature creates fast, even browning and seals the food so it stays crisp and light.
You can think of temperature as the rhythm of frying. When the heat is steady, everything cooks in harmony. When it swings wildly, results are unpredictable. The good news is that you don’t need fancy equipment to get this right—just awareness and a few practical habits.
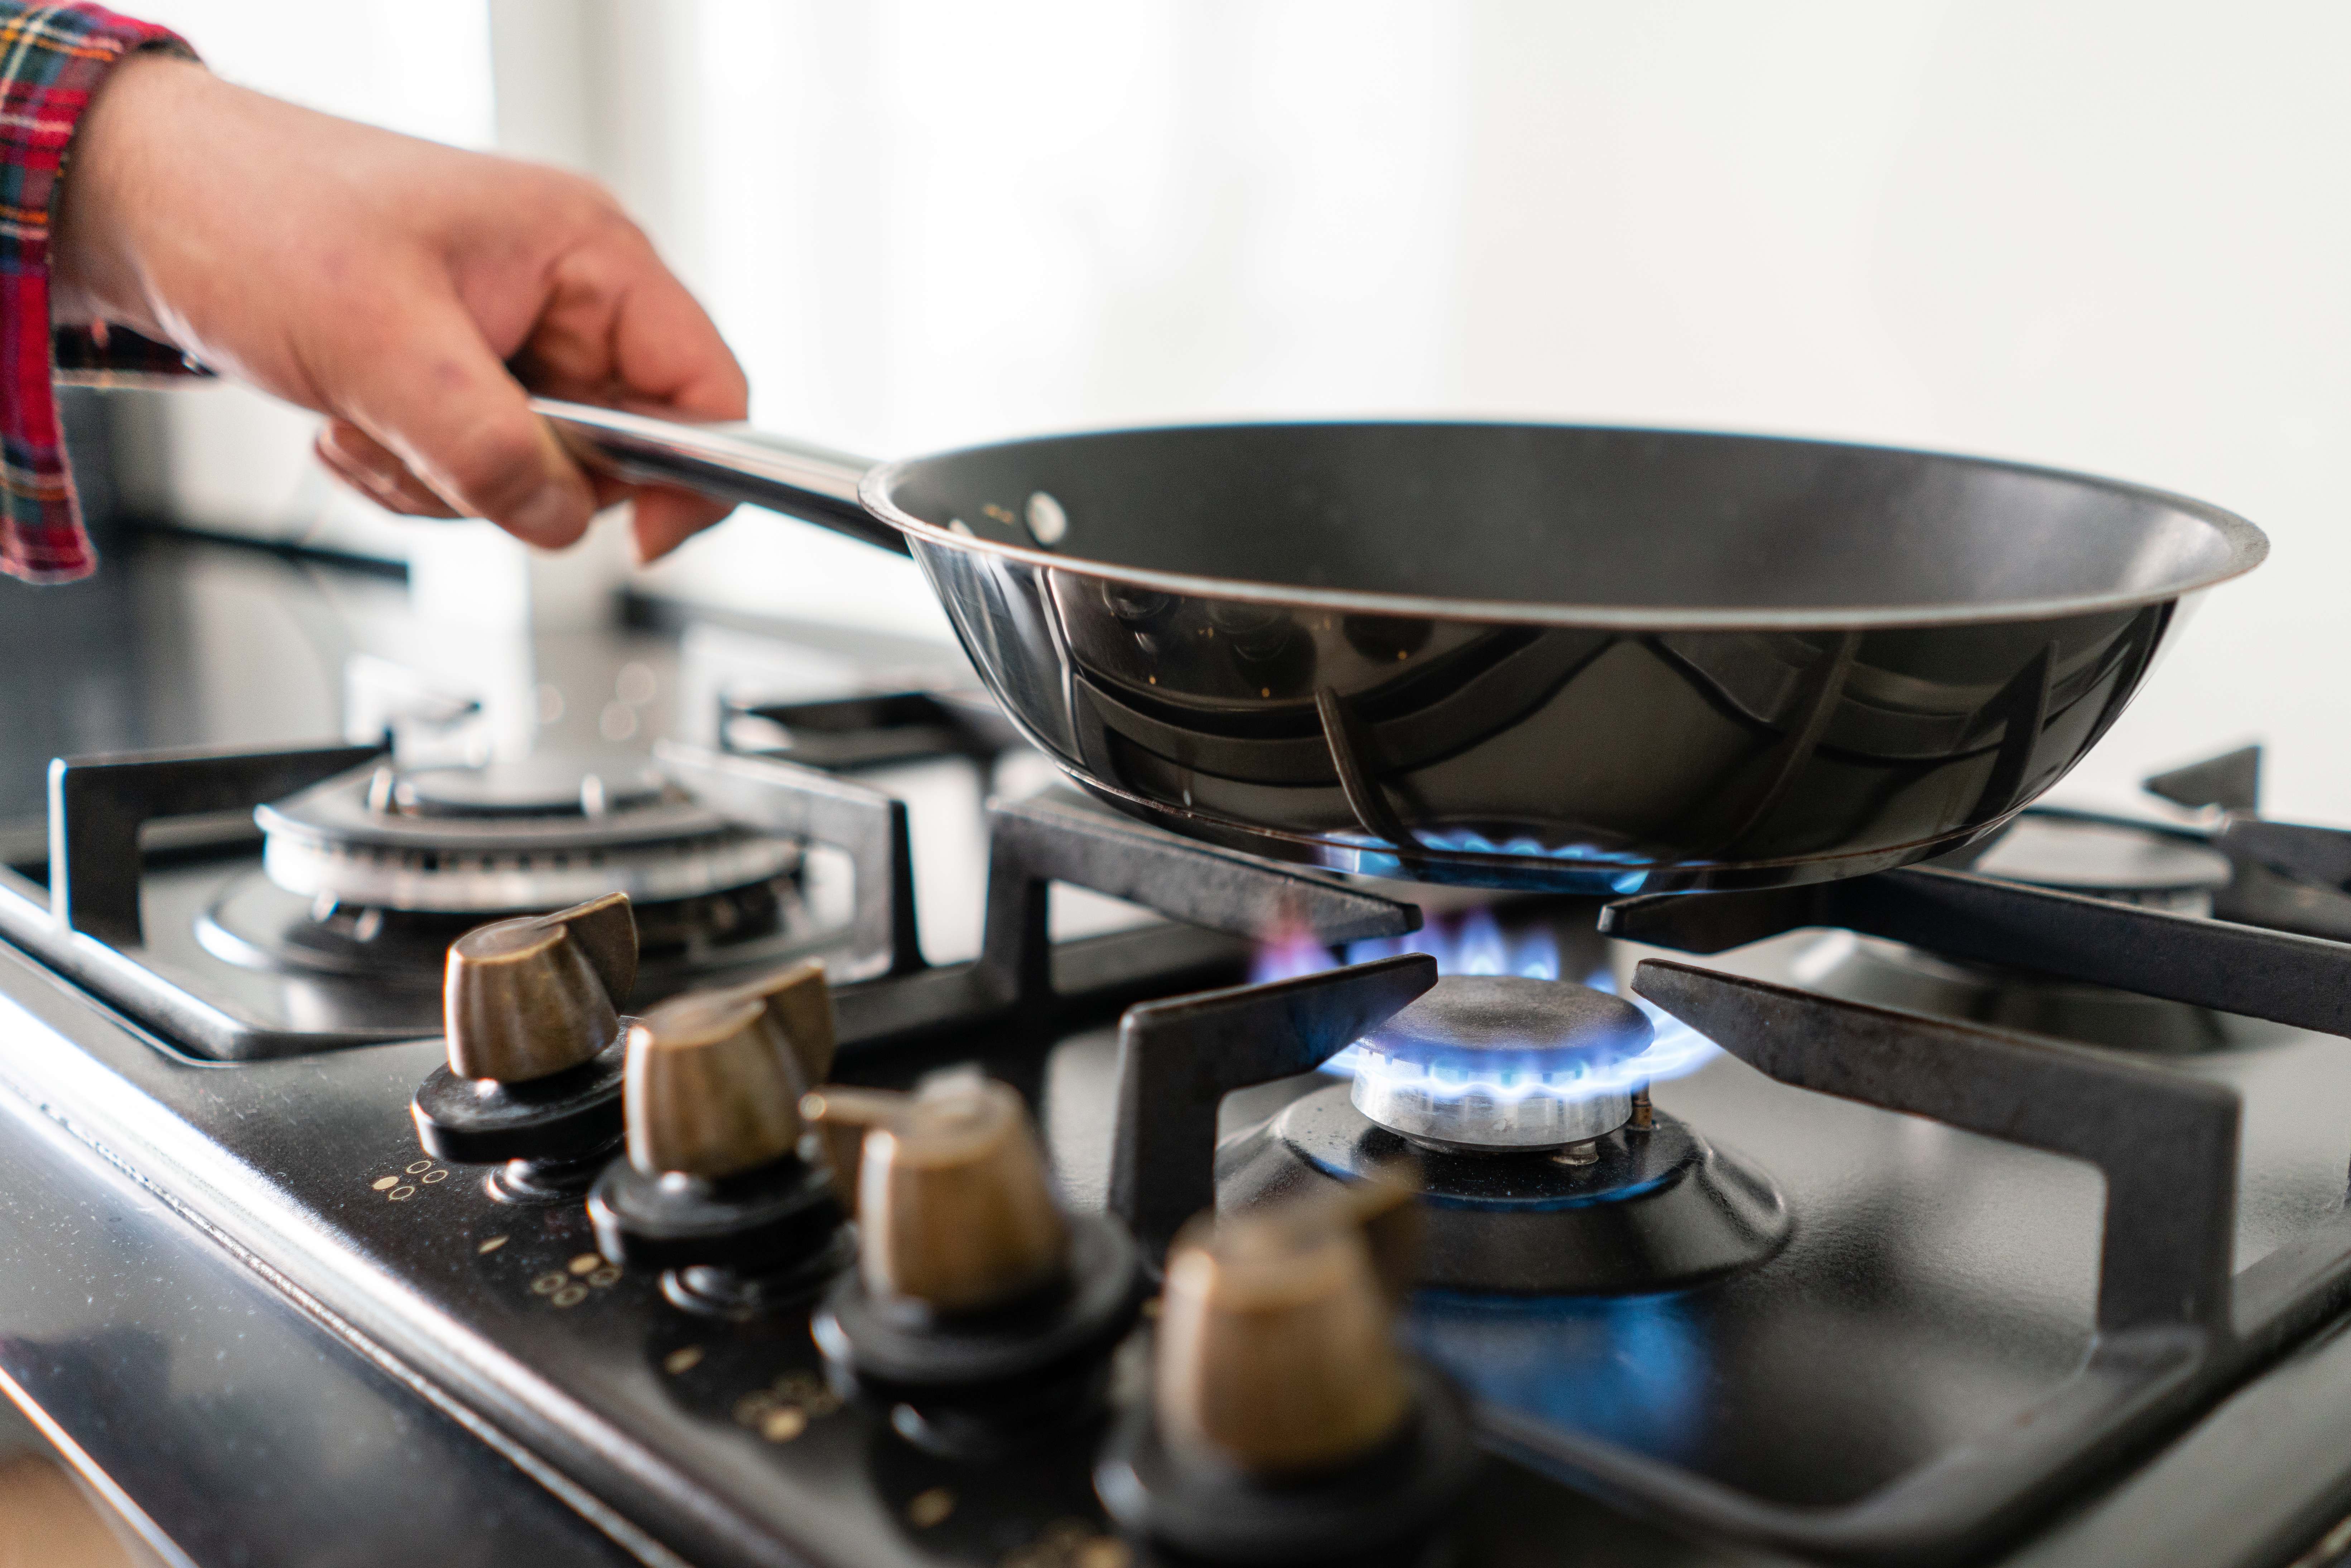
Simple ways to measure and control oil temperature
The most reliable tool is a thermometer, but if you don’t have one, a few easy tests work well. A wooden spoon or the handle of a wooden spoon dipped into the oil should produce steady bubbles that rise from the wood when the oil is hot. Drop a small breadcrumb or a single cube of bread into the oil: if it browns slowly and absorbs oil, the temperature is too low; if it sizzles and browns in under a minute, you’re close to the sweet spot.
Controlling the heat is often as simple as adjusting the burner or moving the pan. Start by heating the oil over medium heat and allow it to reach the target temperature before you add food. When you add food, the temperature will always drop. You can compensate by giving the oil a little extra time to recover between batches or by lowering the amount of food in each batch.
Practical temperature ranges to keep in mind
Instead of memorizing complicated charts, remember three practical ranges that cover most home frying:
Lower hot range (around 325°F / 160°C) is great for delicate or thicker items that need longer cooking through without burning the exterior, such as thicker battered fish or softer vegetables.
Standard frying range (around 350°F–375°F / 175°C–190°C) is the most versatile. Use this for fries, chicken pieces, doughnuts, and most battered foods. It produces a crisp exterior fairly quickly while allowing the inside to cook properly.
High hot range (around 375°F–400°F / 190°C–205°C) suits quick-frying small items that benefit from immediate sealing, like thin-cut chips or certain breaded shrimp. Be cautious in this range—oil can reach smoke point faster, so watch closely.
These ranges are simple guides rather than strict rules. With practice, you’ll learn how your stove and pan behave and which range suits a specific recipe.
Practical tips to keep temperature steady during frying
Start with a dry surface. Pat foods dry before battering or breading; moisture lowers oil temperature and creates excess splatter. Bring foods to near-room temperature if possible so they won’t chill the oil too much when added.
Fry in small, consistent batches. Overcrowding the pan is the fastest way to drop oil temperature and invite sogginess. You can keep food warm in a low oven on a rack while finishing remaining batches so everything serves hot and crisp.
Use a heavy, wide pan to hold heat better than thin pans. A deep pot with a smaller surface area also works well for deep-frying because it loses heat slower. Give the oil time to return to temperature between batches and keep a watchful eye—adjust the heat up slightly if it recovers too slowly, or down if it gets too hot.
Troubleshooting common frying problems
If your fried food is greasy, the oil was likely too cool or the food was overcrowded. Let the oil recover and reduce the amount you fry at once. If the exterior is browning too fast while the inside stays undercooked, lower the heat and allow slightly more time in the oil, or start in the lower range and finish in the standard range.
If your oil smokes, turn off the heat and let it cool; this is a sign it reached its smoke point and broken-down oil can flavor the food. Strain and replace oil if it smells burnt or off. Regularly skim out tiny bits of batter or crumbs that can burn and cause rapid color changes in subsequent batches.
Small habits that make a big difference
Invest a few minutes in prep: dry ingredients, consistent pieces, and pre-heated oil. Check temperature early and often, and don’t be afraid to tweak heat during cooking. With a little creativity you can adapt tools around your kitchen—a candy thermometer works fine if you don’t have a dedicated frying thermometer, and a heavy skillet can be repurposed for shallow frying with great results.
Frying is as much about feel as it is about numbers. As you practice, your timing, visual cues, and small adjustments will become second nature. You’ll start to anticipate how your stove behaves and which tricks produce the crispiest results.
Temperature doesn’t have to be intimidating. With these practical tips and a curious mindset, you can upgrade your frying from so-so to spectacular. Enjoy the process, and get ready to bite into perfectly crispy, golden home-fried food.
Happy frying!
This text was generated using a large language model, and select text has been reviewed and moderated for purposes such as readability.